STLs
Do this for both back motor mounts
Step1
 |
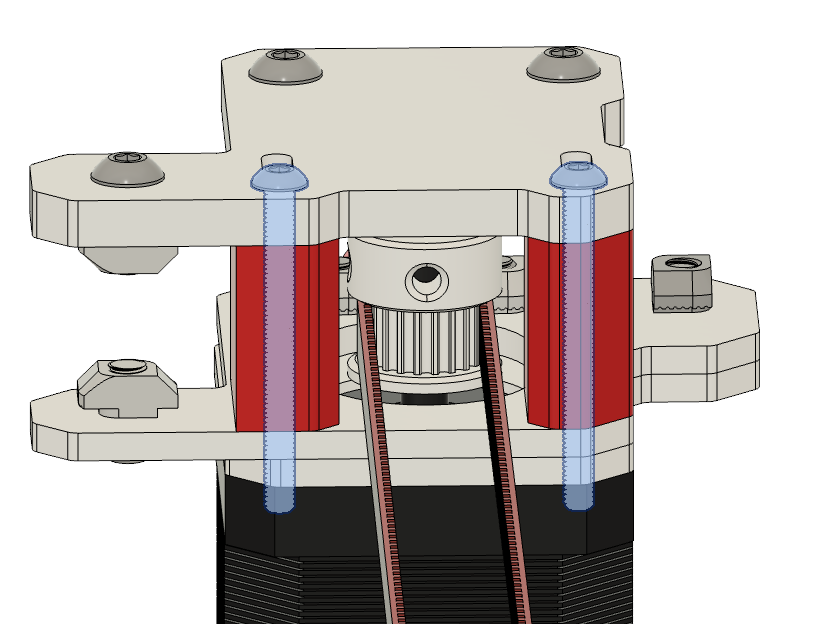 |
• Remove the two M3 x 35mm screws from the motor mount. |
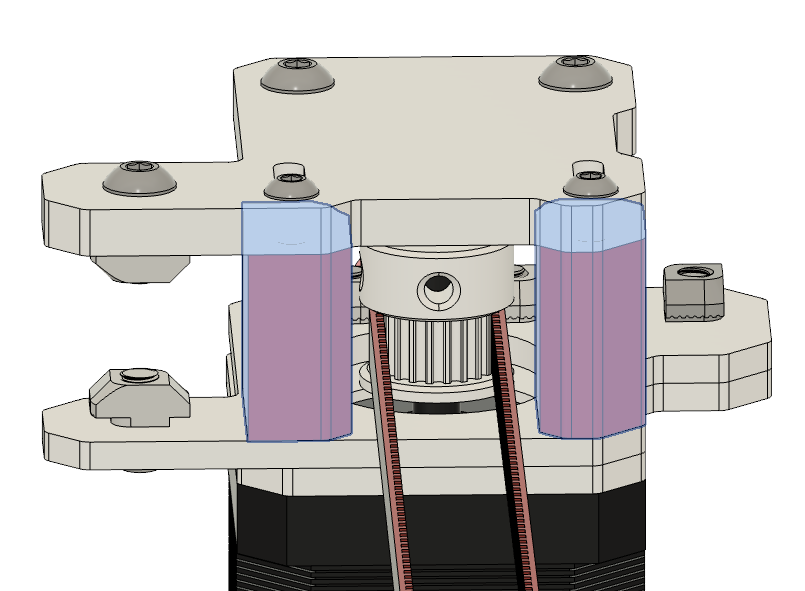 |
• Remove the two highlighted PLA parts with the ABS ones. • Screw back in the two M3 x 35mm screws. |
Do this for both front motor mounts
Step 2
 |
| Part | Location |
|---|---|
| Part 1 Quantity: 1 |
STL |
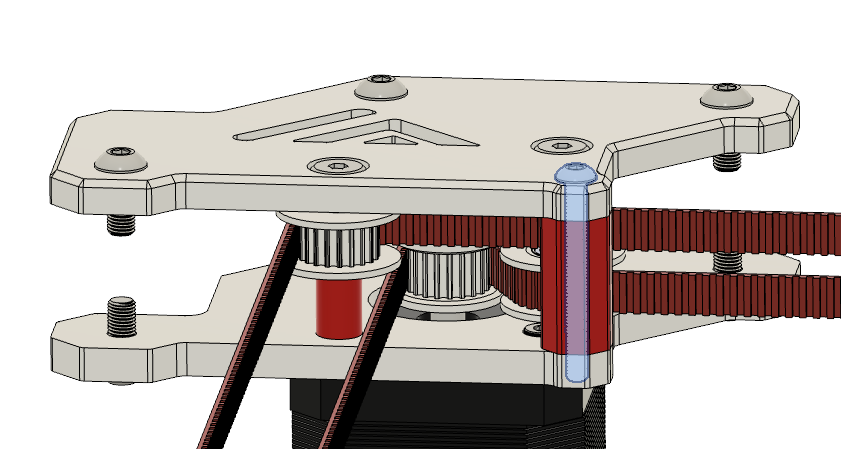 |
• Remove the two M3 x 30mm screws from the motor mount. |
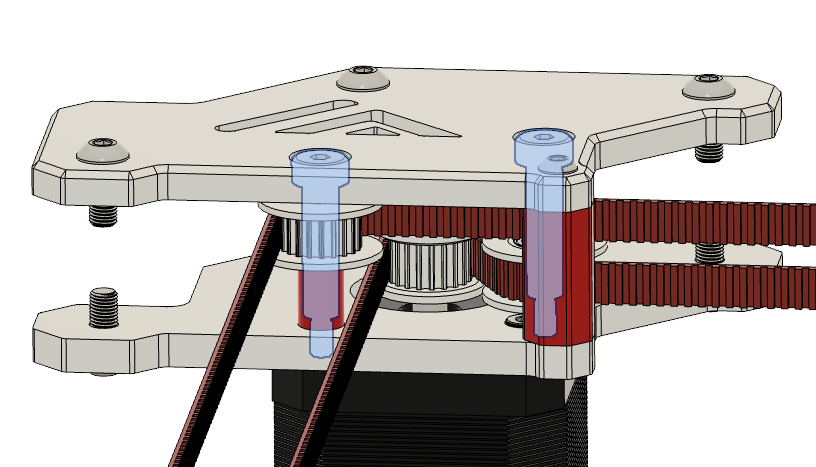 |
• Unscrew the two mitsumi shoulder bolts a bit. |
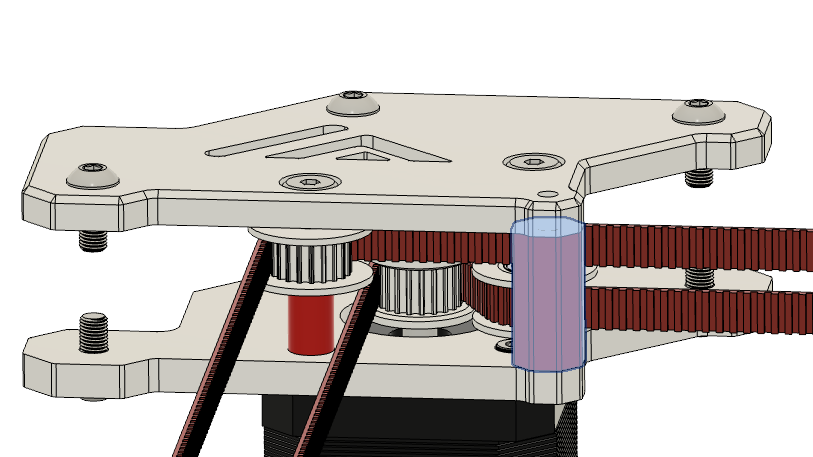 |
• Remove the spacer and replace it with the ABS one • Screw back in the m3 x 30mm screw • Tighten the mitsumi shoulder bolts again. |
Step 3
 |
| Part | Location |
|---|---|
| Spacer Quantity: 1 |
STL |
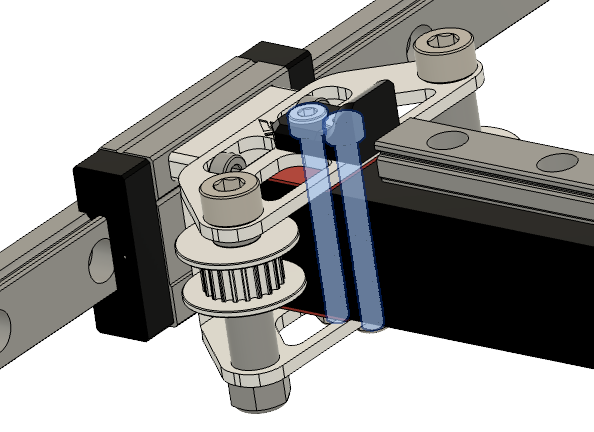 |
• Remove the two M3 screws on each side from the gantry part • Slide the cf tube out of the gantry by tilting it. |
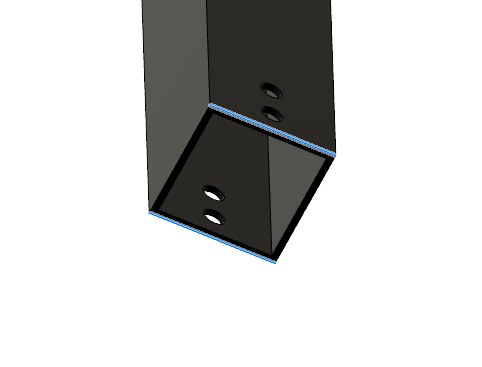 |
• Messaure the height of your CF tube and substract it from 21 mm. • Divide it then by two and print four spacers in that thickness. • If you want to be super precicise do the same thing for the other side. And print each messaured thickness twice. |
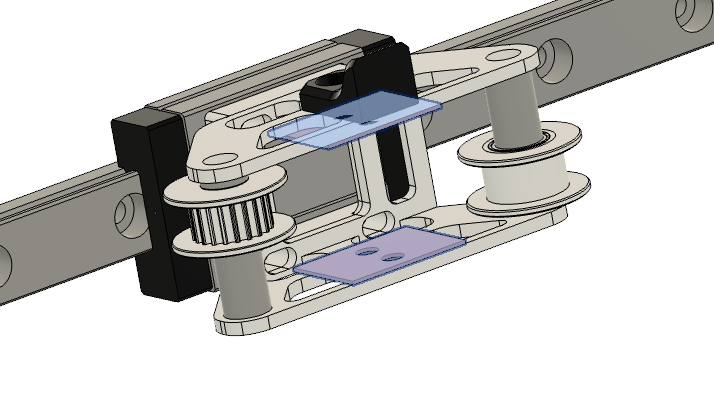 |
• Insert the created spacer’s like shown and assemble the gantry with the m3 screws again. |